Wood Chiseled Dolphin Sign 01
January 18, 2020
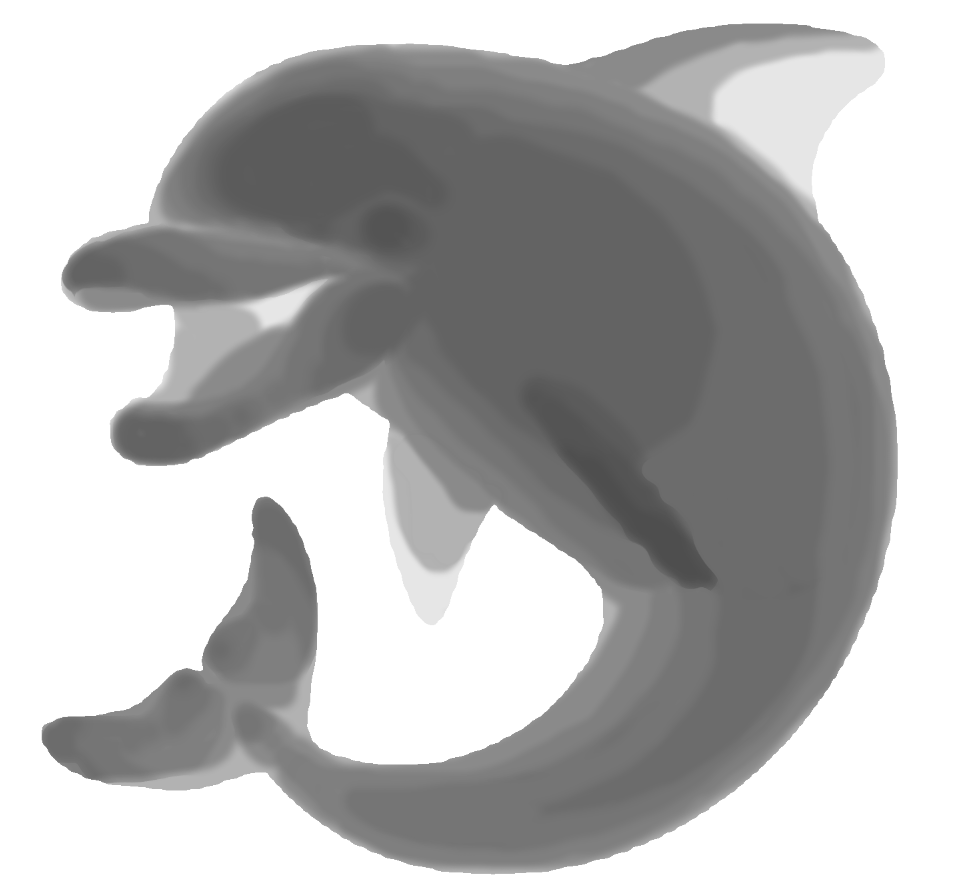
I decided to make a cool sign for the house, and since we are calling it “Dolphin House” and our group chat generally spams a lot of the messenger dolphin emoji, I decided to just use that emoji as the model. I want the dolphin on the sign to be a 3d bas-relief, so I need to determine which parts of the dolphin will be raised up and by how much. I pulled the dolphin into GIMP, scaled it up, and began to create layers to show what parts of the wood will still reach that layer. So if you stacked all the layers, and took out the non-colored in parts, you should have a rough approximation of the 3d shape of the dolphin. I decided to just have 10 layers to get the general shape, then when I do the actual chiseling I can smooth between the layers as I see fit.

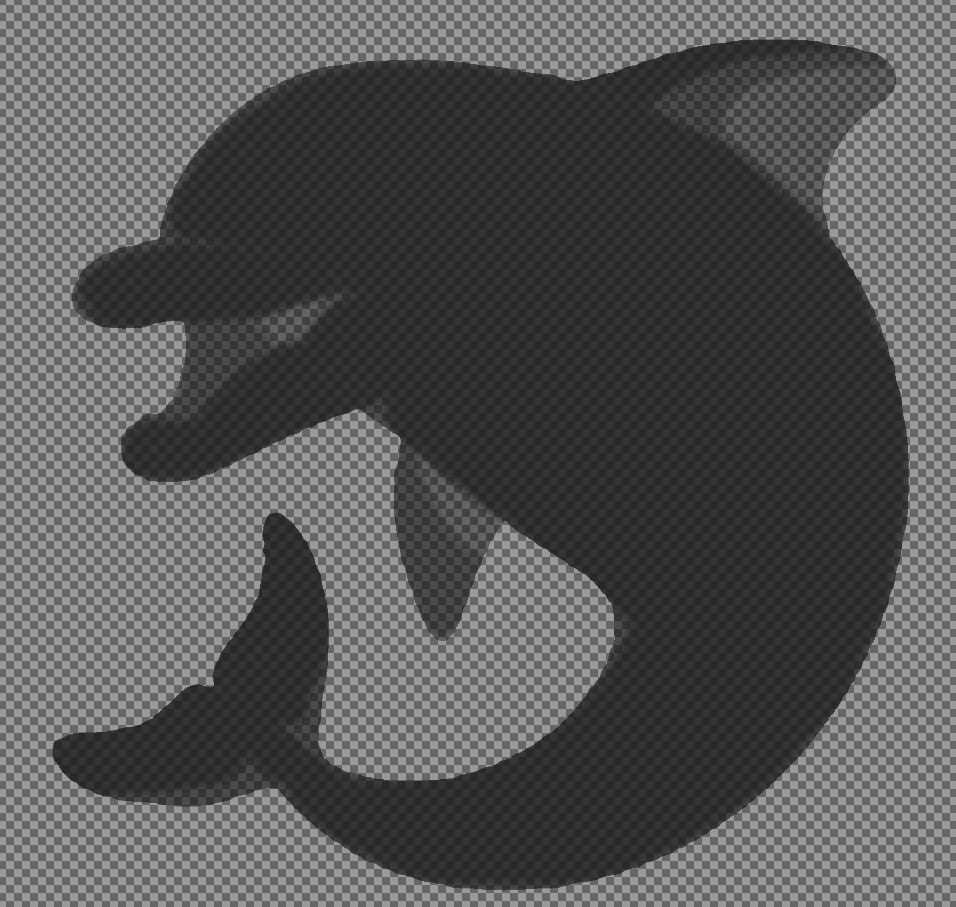
Here's the starting dolphin, and after only 3 layers you can start to see the depth-map that it will create when you have each layer on 10% opacity
I had 10 layers originally, but in the end it looked like there was too much of a gap between two of the layers, so I inserted an interpolated frame. Here is the final version with all 11 frames, as well as the finished depth-map of the dolphin, which is basically just value-inverted to make the lighter parts closer:
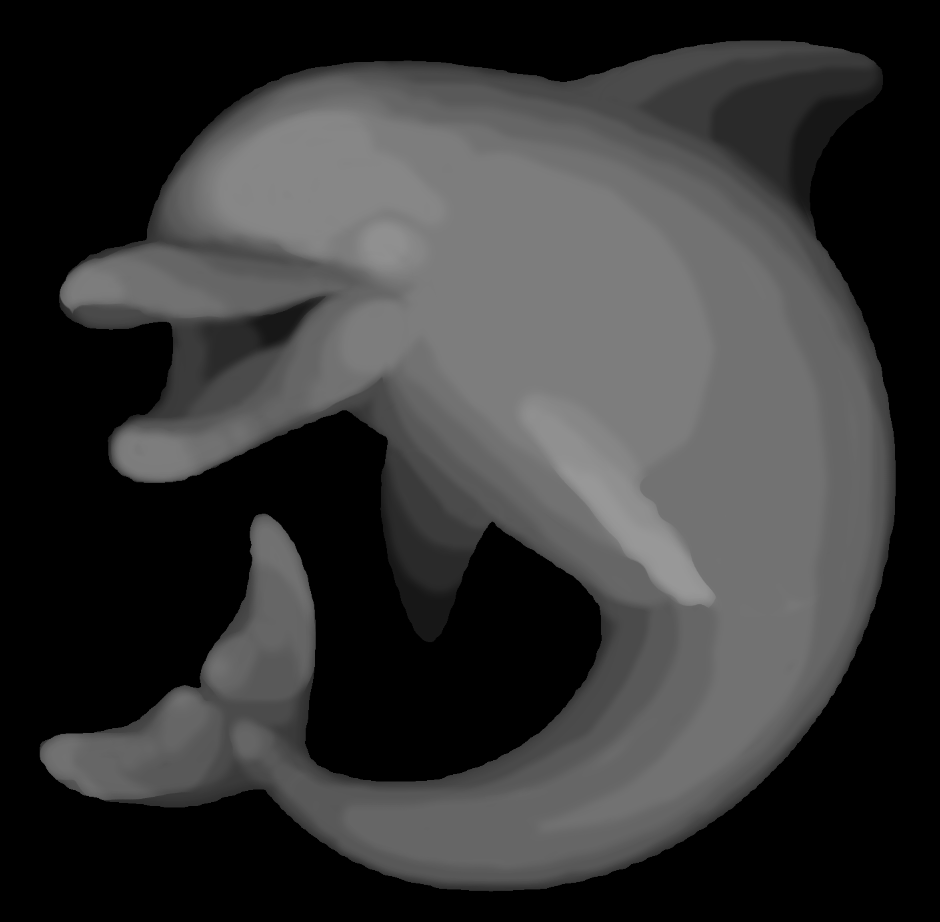
Finished depth-map of the dolphin
The next step will be to design the rest of the sign around the dolphin. I want the sign to be a circular seal, that says “DOLPHIN HOUSE est. 2020” or something similar. I used construction triangles, rectangles, and circles to align everything correctly, because I wanted all of the circles to be concentric and the text to be centered in the annulus.
I also used a technique in GIMP that I’d never used before: “text along path”. With my construction lines in place, I traced out the path that the text should follow, and then I wrote the text in a separate layer. If I right-click on the text layer and select “text along path”, it renders the text along the first path in the “Paths” list. I had to make two separate semicircular paths, one going clockwise and one going counter-clockwise for the two pieces of text. Then I simply rotated the text about the center of the circle to get the ends of the text to align.
I chose to have the dolphin’s dorsal fin and tail slightly overlap the center circle for a couple reasons. It gives more of a 3d feel to the dolphin, and also allows me to put the border tighter against the dolphin’s body. I think having too much padding just for the fins and tail would look a bit obnoxious, so I think this trick makes the whole piece that much better.
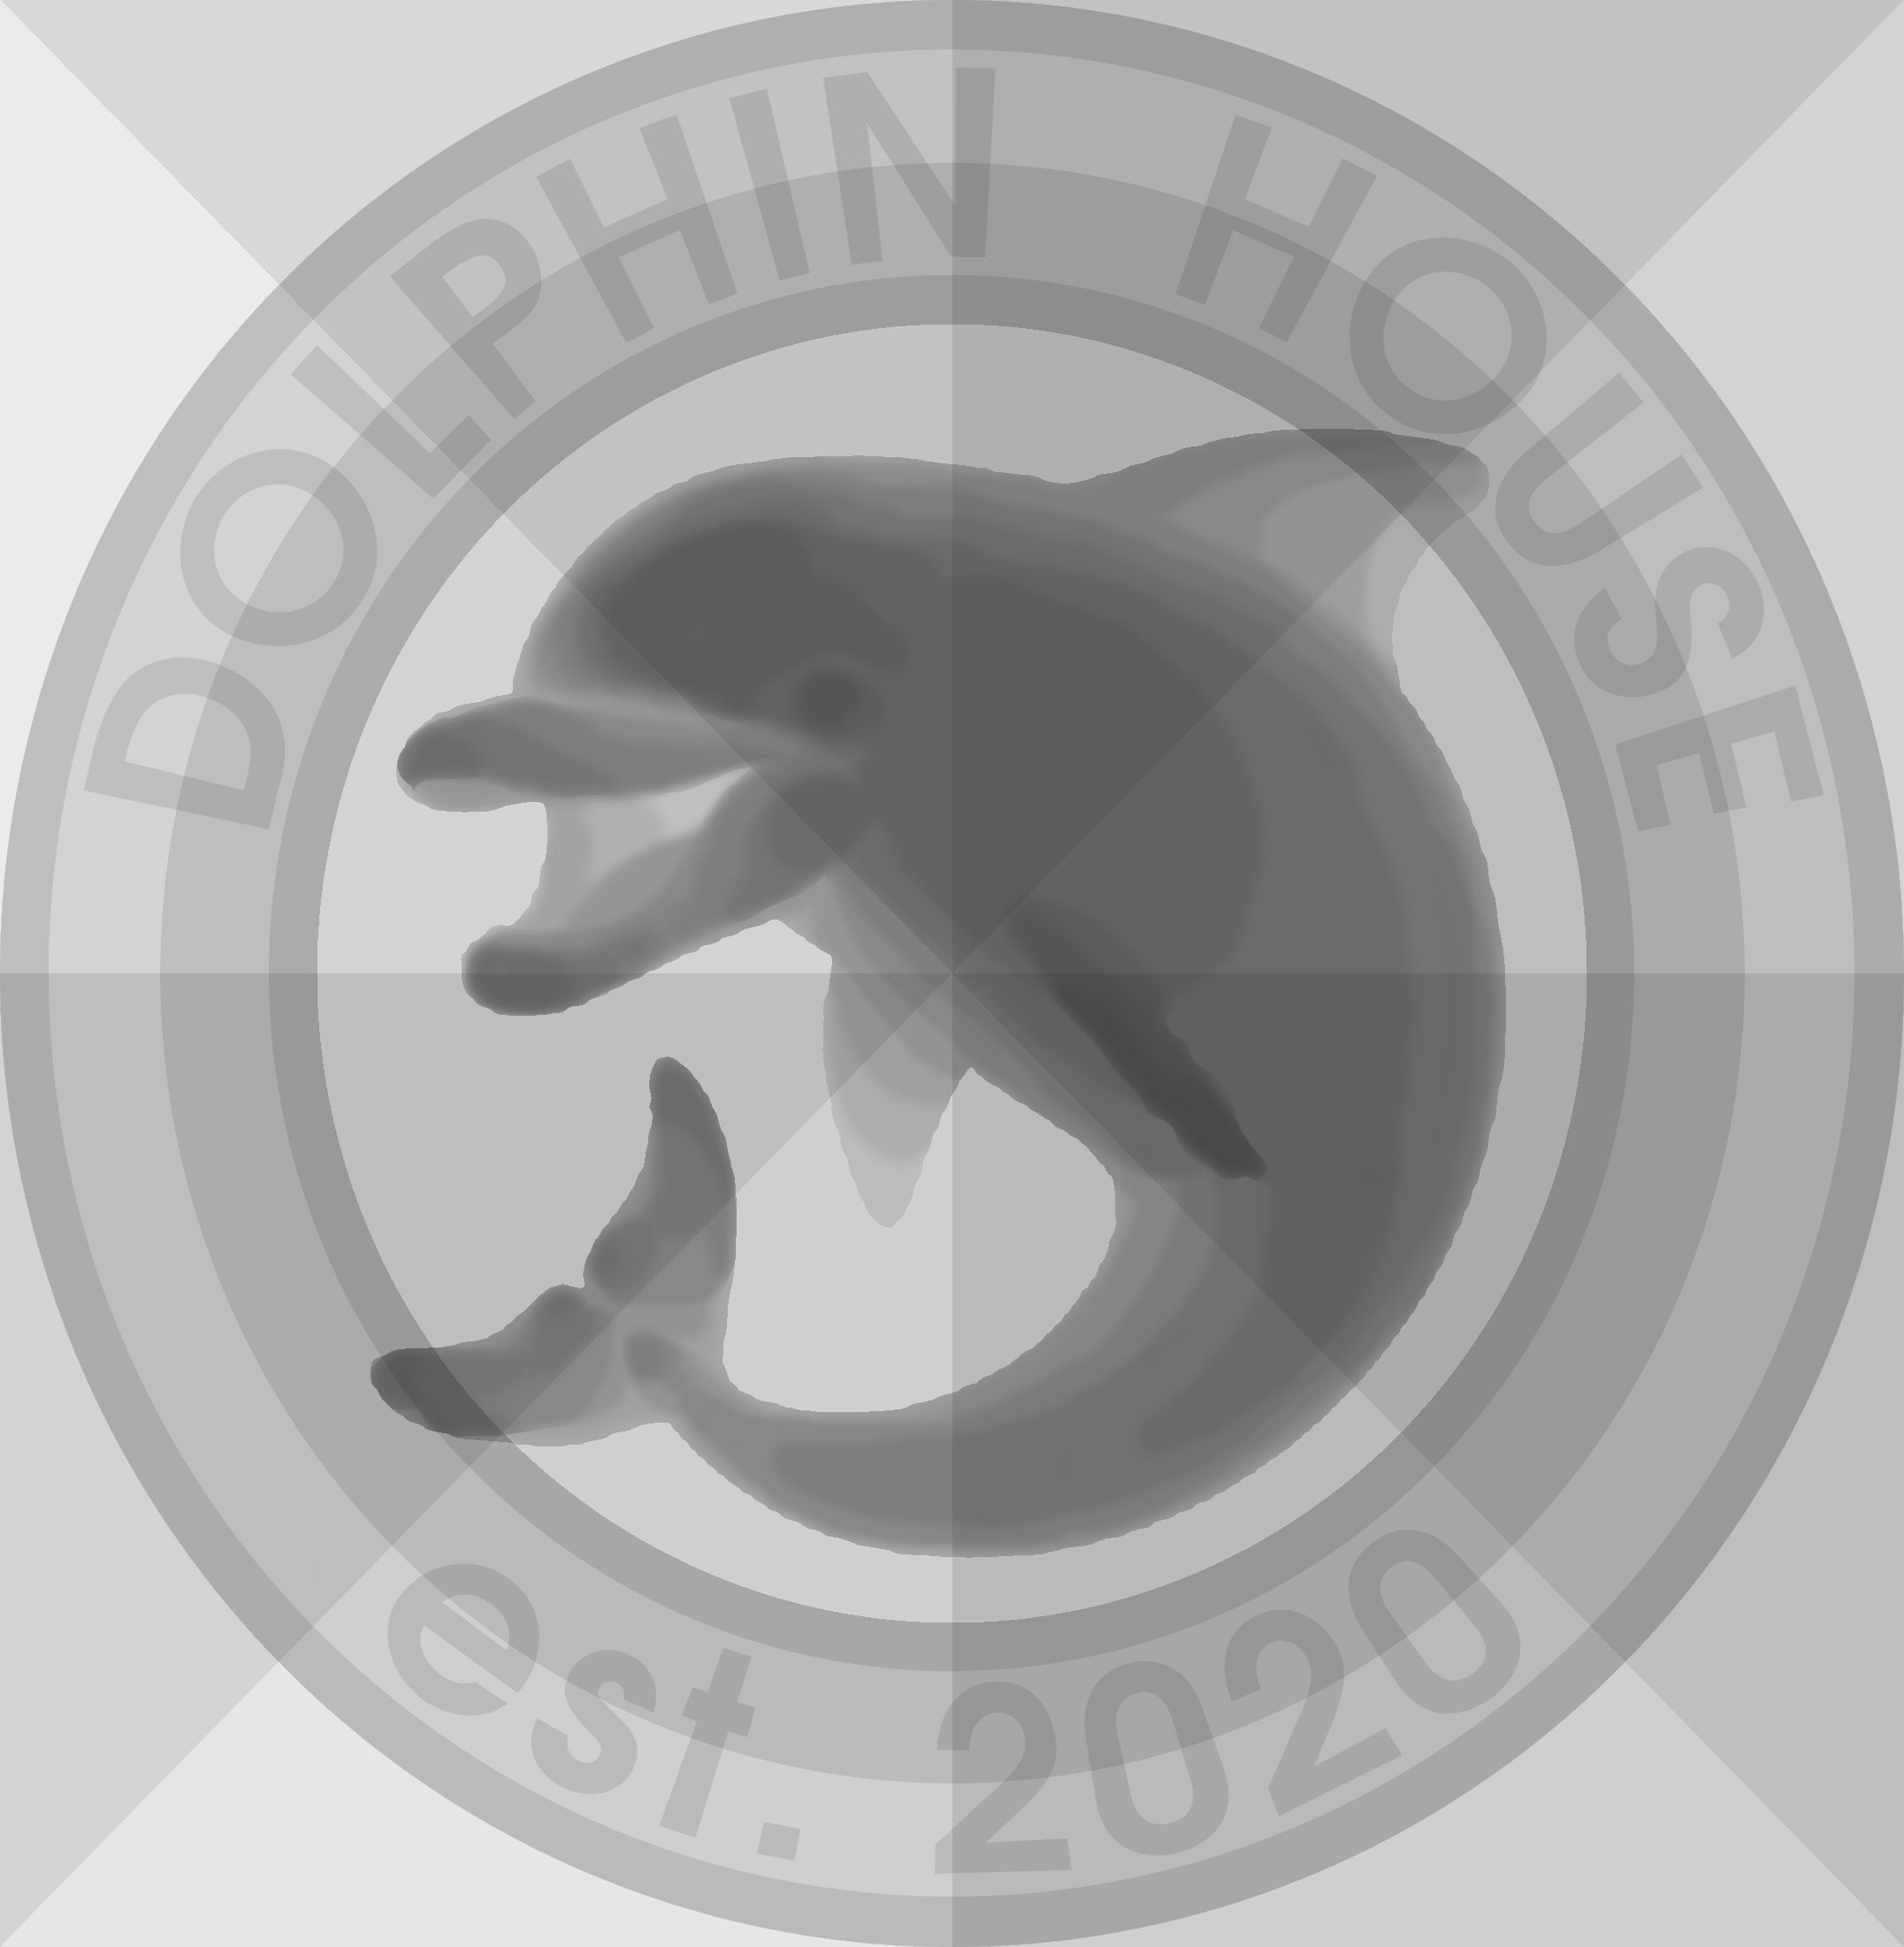
Work-in-progress dolphin seal with text
Once I had a depth-map, I wanted to visualize what the plaque would look like in 3d, so I converted it to an OBJ using “3D Paysage”, a random program I found on the internet that worked well enough for my purposes. I then used an online OBJ viewer to pan the camera around the relief and made this clip:
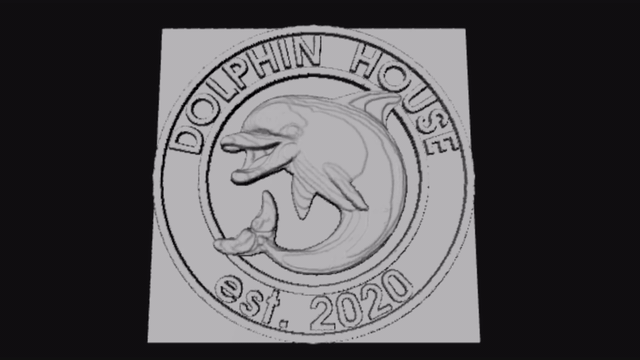
Dolphin seal relief visualized in 3d
Soon, I will have to pick out some wood, grab a hammer and chisel, and get to work chiseling this thing!